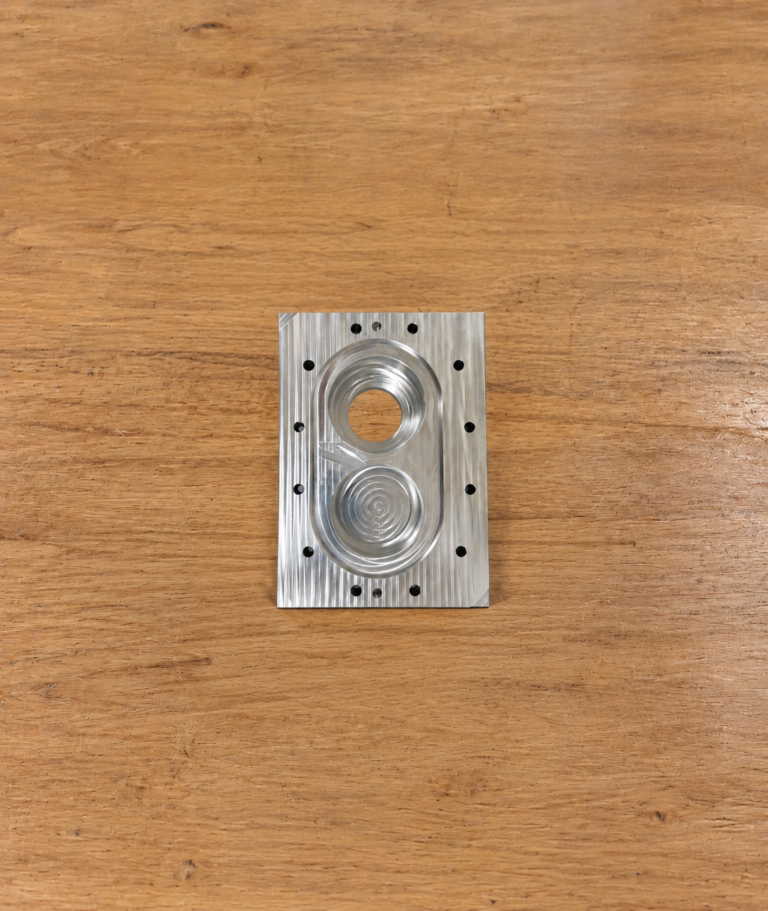
Why Tool Mark Direction Matters on Vacuum Seals
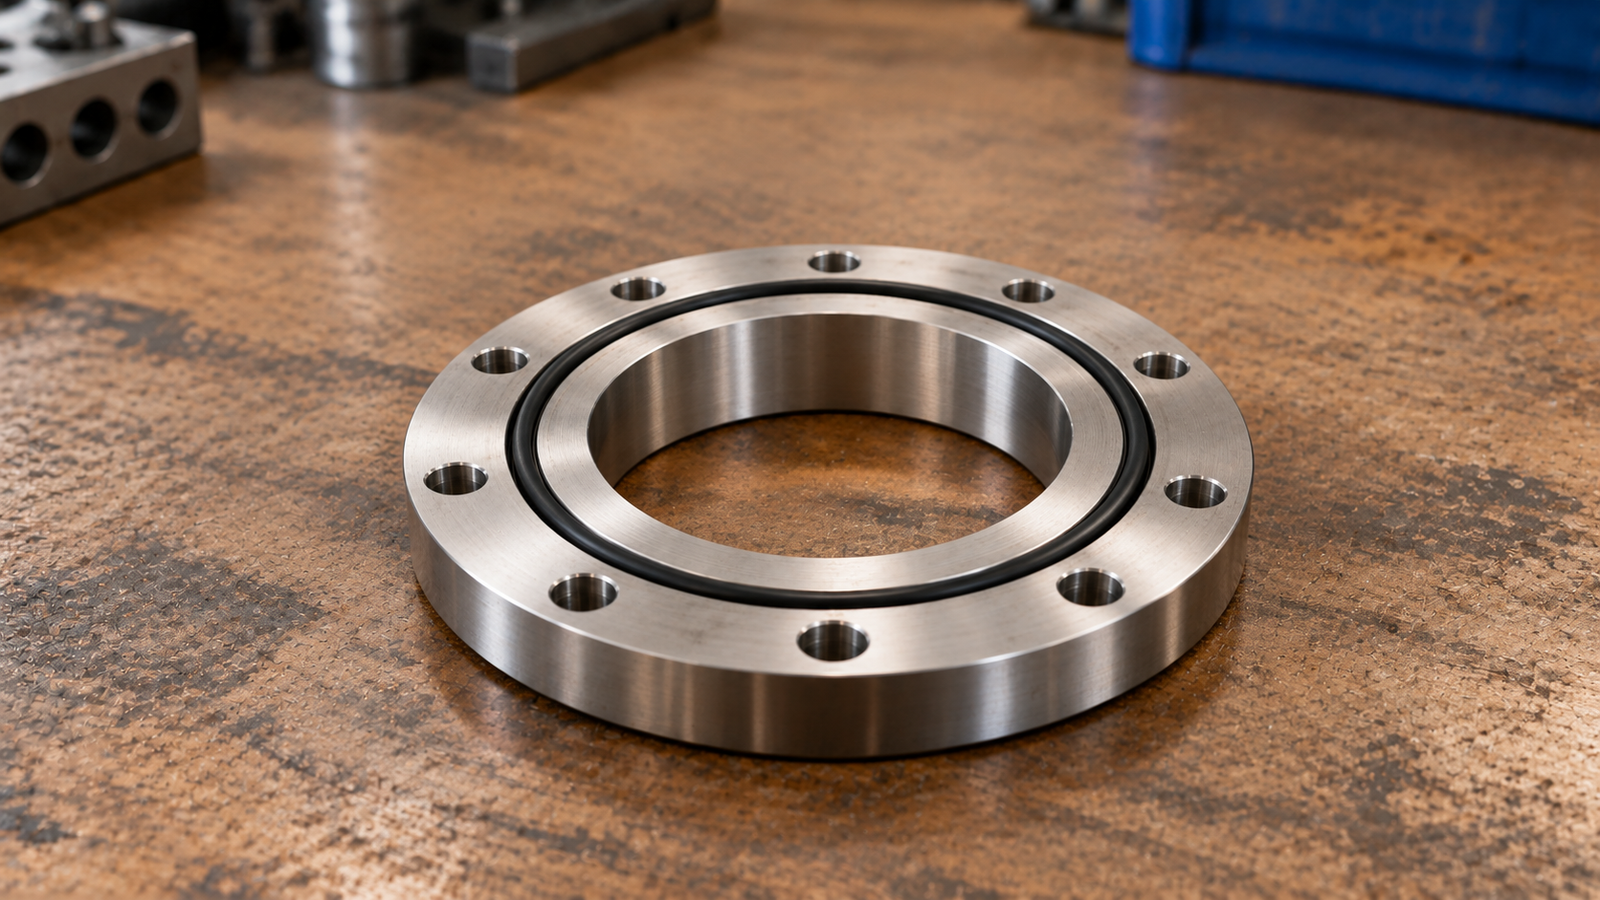
Vacuum sealing surface finish depends on more than roughness. The direction and continuity of CNC tool marks can create leak paths across the sealing area, even when the surface meets its specified roughness requirements.
Proper toolpath planning helps prevent leakage by keeping machining marks from crossing the sealing path or connecting the vacuum side to the outside.
A Small Groove Can Become a Leak Path
A seal works by closing the microscopic gaps between two mating surfaces. If a scratch or tool mark crosses the entire sealing band, it can connect the vacuum side to the atmosphere.
Directional marks are especially risky when they run across an O-ring or gasket contact area. Spiral toolpaths may also create a continuous route from the inside of the seal to the outside.
The groove may be too small to see easily but still large enough to affect vacuum performance.
Roughness Does Not Tell the Whole Story
Surface roughness values such as Ra describe the average height variation of a surface. They do not fully indicate the direction, length, or continuity of individual marks.
Two surfaces can have the same Ra value but perform differently. A short, isolated mark may have little effect, while a continuous groove across the sealing area may cause leakage.
For this reason, vacuum sealing surface finish should not be evaluated by a roughness value alone. Visual inspection and toolpath review are also important.
Seal Type Changes the Requirement
Different sealing systems require different surface conditions.
Elastomer O-rings can conform to small surface variations, but they may not close a continuous scratch that crosses the sealing band. Metal seals are less forgiving and generally require tighter control of surface finish, flatness, and damage.
The acceptable tool marks therefore depend on the seal material, contact pressure, vacuum level, and flange design.
Flatness Also Affects Sealing
Even a smooth surface may leak if it is not flat enough to compress the seal evenly.
Machining heat, residual stress, and excessive clamping force can distort a flange. The part may appear flat while clamped but change shape after it is removed from the fixture.
Finishing operations should therefore control both surface texture and overall flatness.
Controlling the Machined Surface
The finishing toolpath should avoid creating continuous marks across the sealing band. Sharp tools, stable cutting conditions, and controlled stepovers help produce a uniform surface.
The sealing area should be machined with a consistent toolpath and protected during later operations. Deburring tools must not touch the functional sealing band.
Cleaning, inspection, and packaging also require care because a scratch introduced after machining can create the same leak risk as a cutting defect.
Verification Before Assembly
The finished surface should be inspected for scratches, dents, burrs, and continuous machining grooves. Roughness measurement confirms the specified finish, while flatness inspection verifies the sealing geometry.
For critical vacuum components, a helium leak test or another suitable pressure test may be required to confirm actual sealing performance.
Combining surface inspection with functional leak testing provides more reliable evidence than either method alone.
We machine vacuum chambers, seal grooves, flanges, and precision sealing surfaces. Send us your drawing, seal requirements, vacuum level, and inspection criteria for a manufacturing review.